How do I preserve harvest through canning, freezing, or fermenting?
Complete preservation guide • Step-by-step instructions
Preservation Fundamentals:
Show Preservation CalculatorHarvest preservation extends the life of fresh produce through various methods: canning (heat processing), freezing (temperature control), and fermenting (microbial action). Each method has specific requirements, safety protocols, and optimal applications for different types of produce.
Key preservation methods:
- Canning: Heat processing in sealed jars for long-term storage
- Freezing: Temperature control to slow deterioration
- Fermenting: Beneficial microbial action for preservation
- Equipment: Proper tools and containers for safety
Successful preservation maintains nutritional value while extending shelf life from days to months or years.
Preservation Planning Tools
Preservation Options
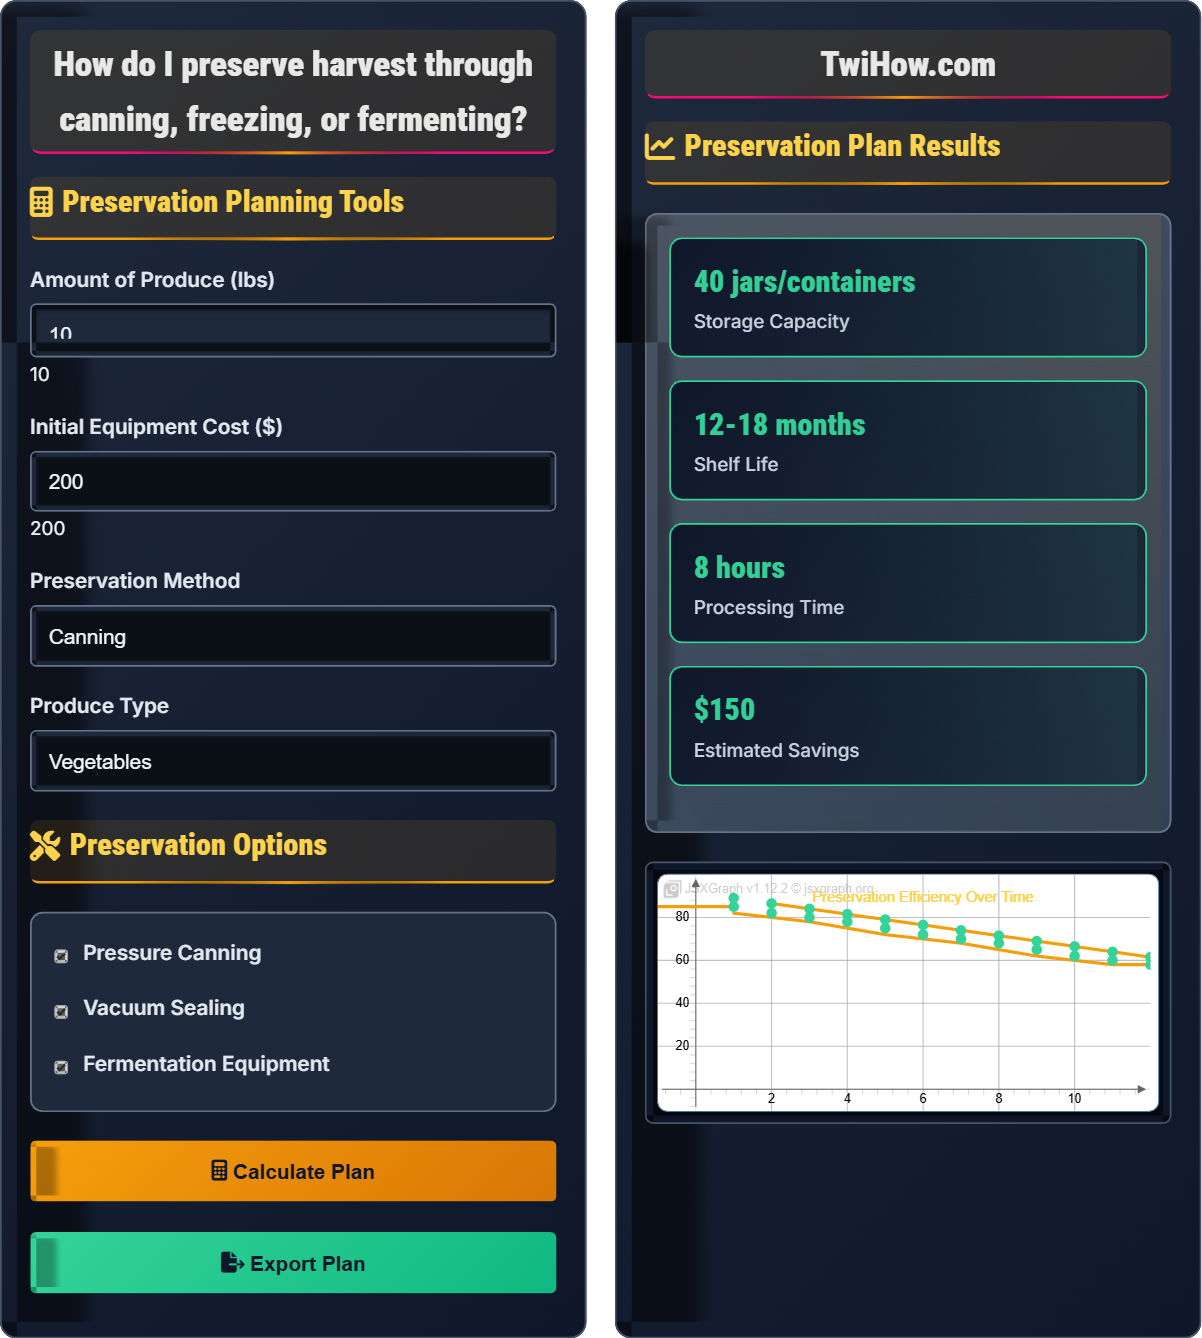
Preservation Plan Results
| Step | Time | Equipment | Notes |
|---|---|---|---|
| Prepare Produce | 2 hours | Knives, cutting boards | Wash, peel, cut |
| Process Method | 4 hours | Canner/freezer/jars | Follow safety guidelines |
| Label & Store | 1 hour | Labels, storage area | Mark dates and contents |
| Cool Down | 1 hour | Counter space | Allow to seal properly |
Preservation Planning Explained
Harvest preservation extends the life of fresh produce through various methods: canning (heat processing), freezing (temperature control), and fermenting (microbial action). Each method has specific requirements, safety protocols, and optimal applications for different types of produce.
Where:
- Preserved Volume: Amount of produce successfully preserved
- Processing Time: Hours spent on preservation activities
- Storage Space: Space required for preserved items
Key areas where preservation makes an impact:
- Food Security: Year-round access to homegrown produce
- Cost Savings: Reduce grocery expenses during off-season
- Waste Reduction: Prevent spoilage of surplus harvest
- Nutritional Benefits: Maintain vitamins and minerals
- Self-Sufficiency: Reduce dependence on commercial sources
- Traditional Skills: Preserve cultural food practices
- Acid Levels: Low-acid foods require pressure canning
- Temperature Control: Proper heating to destroy pathogens
- Sealing Integrity: Proper jar sealing to prevent contamination
- Storage Conditions: Cool, dry places away from light
- Expiration Monitoring: Regular checks for spoilage signs
Preservation Fundamentals
Canning, freezing, fermenting, food safety, shelf life, nutritional preservation.
Efficiency = Preserved Volume / (Processing Time + Storage Space)
Where Efficiency = preservation effectiveness, Preserved Volume = amount of produce preserved.
- Follow safe canning procedures
- Blanch before freezing vegetables
- Monitor fermentation temperature
Applications
Harvest preservation, seasonal food storage, emergency preparedness, food security.
- Seasonal food preservation
- Emergency food storage
- Cost reduction
- Waste prevention
- Equipment investment
- Time commitment
- Safety protocols
- Storage space requirements
Preservation Learning Quiz
Why is pressure canning required for low-acid foods like green beans and corn?
Pressure canning is required for low-acid foods (pH above 4.6) because these conditions allow Clostridium botulinum spores to survive and potentially produce deadly botulinum toxin. Pressure canning achieves temperatures of 240°F (116°C) or higher, which is necessary to kill these heat-resistant spores. Boiling water canning only reaches 212°F (100°C), which is insufficient for low-acid foods.
The answer is B) To kill Clostridium botulinum spores.
Food safety is paramount in preservation. Understanding the difference between acid and low-acid foods is crucial for preventing foodborne illness. Low-acid foods (vegetables, meats, fish) require pressure canning to achieve the necessary temperature to kill dangerous bacteria. Acidic foods (fruits, pickles, jams) can be safely processed in boiling water because the low pH creates an environment hostile to harmful bacteria.
Clostridium botulinum: Bacteria that produces deadly neurotoxin
Acid Foods: pH below 4.6, naturally resistant to harmful bacteria
Low-Acid Foods: pH above 4.6, require pressure canning
• Low-acid foods need pressure canning
• Follow approved recipes
• Test seals properly
• Use tested recipes from reliable sources
• Check gauge accuracy annually
• Vent pressure canner properly
• Using water bath for low-acid foods
• Not following processing times
• Ignoring altitude adjustments
Explain the proper technique for blanching vegetables before freezing and why this step is critical for maintaining quality.
Blanching Process: Immerse vegetables in boiling water for a specified time (usually 2-5 minutes depending on the vegetable), then immediately plunge into ice water to stop cooking.
Timing: Vegetables like broccoli, carrots, and green beans need blanching for 3 minutes before freezing.
Why Critical: Blanching deactivates enzymes that cause loss of flavor, color, and texture during storage. It also cleanses the surface of dirt and microorganisms, brightens color, and helps retain vitamins.
Proper Technique: Use 1 gallon of water per pound of vegetables, blanch in small batches to maintain boiling temperature, and cool rapidly in ice water.
Without blanching, frozen vegetables become mushy, lose nutritional value, and develop off-flavors.
Blanching is a crucial step in vegetable freezing that many people skip. The brief heat treatment stops enzyme activity that continues to deteriorate food quality even at freezing temperatures. Enzymes are responsible for the loss of flavor, color, and texture that makes improperly frozen vegetables unpalatable. The rapid cooling stops the cooking process and preserves the desired texture.
Blanching: Brief immersion in boiling water followed by ice water
Enzymes: Proteins that catalyze chemical reactions in food
Ice Water Bath: Rapid cooling to stop cooking process
• Blanch for exact time specified
• Cool immediately after blanching
• Dry thoroughly before freezing
• Use timer for precise timing
• Prepare ice bath in advance
• Freeze in single layer first
• Skipping the blanching step
• Over-blanching vegetables
• Not cooling rapidly enough
A gardener has 50 pounds of tomatoes to preserve. Canning costs $0.50 per pound in supplies (jars, lids, pectin), freezing costs $0.25 per pound (containers, electricity), and fermenting costs $0.10 per pound (salt, containers). If tomatoes cost $3.00 per pound at the store, calculate the savings for each method and recommend the most economical approach considering processing time and equipment requirements.
Store-Bought Cost: 50 lbs × $3.00/lb = $150.00
Canning Supplies: 50 lbs × $0.50/lb = $25.00
Freezing Supplies: 50 lbs × $0.25/lb = $12.50
Fermenting Supplies: 50 lbs × $0.10/lb = $5.00
Savings: Canning: $125.00, Freezing: $137.50, Fermenting: $145.00
Recommendation: Fermenting offers the highest savings but requires special equipment and longer processing time. For beginners, freezing provides a good balance of savings ($137.50) and simplicity with minimal special equipment needed.
This problem demonstrates the economic considerations of preservation methods. While fermenting offers the highest cost savings, it requires specialized knowledge and equipment. The economic analysis helps determine which method provides the best value considering both monetary savings and time investment. Other factors like storage space and personal preferences also influence the choice.
Cost-Benefit Analysis: Comparison of expenses versus savings
Processing Time: Labor required for preservation method
Equipment Investment: Upfront costs for tools and supplies
• Calculate all costs upfront
• Consider time investment
• Factor in equipment needs
• Start with simple methods
• Buy supplies in bulk
• Combine methods for variety
• Underestimating supply costs
• Ignoring time investment
• Not considering equipment needs
A beginner wants to ferment vegetables but is concerned about safety and success. Outline a step-by-step fermentation process for sauerkraut and explain how to identify successful fermentation versus spoilage.
Step-by-Step Sauerkraut: Shred 5 lbs cabbage, mix with 3 tbsp salt, pack tightly in jar leaving 1 inch headspace, weigh down with fermentation weight, cover loosely.
Timeline: Active fermentation begins in 2-3 days, continues for 3-6 weeks depending on temperature.
Signs of Success: Bubbling activity, sour smell, crisp texture, no mold on surface (white film is usually harmless kahm yeast).
Signs of Spoilage: Pink or black mold, slimy texture, putrid smell, soft vegetables that never firmed up.
Safety: Proper salt concentration (2-3%) and anaerobic conditions prevent harmful bacteria while encouraging beneficial lactobacilli.
Fermentation is actually quite safe when done correctly because the acidic environment created by beneficial bacteria inhibits harmful pathogens. The key is understanding the difference between normal fermentation processes (bubbling, sour smell, white films) and actual spoilage (foul odors, mold colors other than white, sliminess). Proper salt ratios and anaerobic conditions create an environment where beneficial bacteria thrive.
Lacto-Fermentation: Preservation using lactic acid bacteria
Kahm Yeast: Harmless white film that sometimes forms
Brine: Salt water solution for fermentation
• Use proper salt concentration
• Keep vegetables submerged
• Monitor for spoilage signs
• Start with simple recipes
• Keep temperature consistent
• Taste during fermentation
• Using too little salt
• Discarding white films unnecessarily
What is the optimal storage temperature for canned goods to maintain quality for 12-18 months?
The optimal storage temperature for canned goods is a cool, dark place with temperatures between 50-70°F. Higher temperatures accelerate quality deterioration and nutrient loss, while fluctuations can cause seal failure. Light can cause discoloration and vitamin degradation. Temperatures below 50°F may cause freezing damage to some canned products. Proper storage conditions help maintain quality for 12-18 months.
The answer is B) Cool, dark place (50-70°F).
Storage conditions significantly impact the shelf life of preserved foods. Heat accelerates chemical reactions that cause quality loss, while light can degrade vitamins and cause discoloration. Consistent temperatures prevent stress on jar seals. A basement pantry or closet that maintains stable temperatures between 50-70°F is ideal for long-term storage of canned goods.
Shelf Life: Time period for optimal quality
Quality Deterioration: Loss of nutritional value and taste
Seal Integrity: Jar seal preventing contamination
• Store in cool, dark place
• Maintain consistent temperature
• Check seals regularly
• Label jars with dates
• Store away from heat sources
• Rotate stock regularly
• Storing near heat sources
• Exposing to light
• Not checking seals
FAQ
Q: What equipment do I need to start preserving my harvest?
A: For beginners, start with basic equipment based on your preferred method:
Basic Canning Setup: Large pot with rack, canning jars with lids, jar lifter, funnel, and bubble remover ($50-100 initial cost).
Freezing Setup: Quality containers or vacuum sealer, blanching pot, ice bath container ($30-150).
Fermentation Setup: Glass jars, weights to keep vegetables submerged, airlock lids (or cloth covers) ($20-75).
Start with one method and expand your equipment as you gain experience. Quality jars and lids are essential for canning safety.
Q: How long can preserved foods last?
A: Shelf life varies by method and storage conditions:
Canned Foods: 12-18 months at best quality, up to 5 years if stored properly in cool, dark conditions. Acids foods last longer than low-acid foods.
Frozen Foods: 8-12 months for best quality, though safe indefinitely if kept at 0°F. Blanching vegetables before freezing extends quality.
Fermented Foods: 6-12 months refrigerated, though some ferments like sauerkraut can last longer. Quality decreases over time.
Always inspect preserved foods before consuming. Discard any cans showing signs of spoilage: bulging, leaking, off odors, or unusual color.