How to Evaluate the Impact of Air Sealing on Comfort and Energy Use?
Complete air sealing guide • Step-by-step evaluations
Air sealing is a critical component of home energy efficiency that involves identifying and sealing leaks in the building envelope. Proper air sealing reduces energy consumption, improves comfort, and enhances indoor air quality by controlling airflow patterns and preventing drafts.
Key impacts of air sealing:
- Energy Savings: Reduces heating/cooling costs by 10-30%
- Comfort Improvement: Eliminates drafts and temperature variations
- Moisture Control: Prevents air infiltration that carries moisture
- Indoor Air Quality: Reduces entry of pollutants and allergens
- Structural Protection: Prevents air movement that can cause condensation
Effective air sealing requires systematic identification of leak locations and proper sealing techniques.
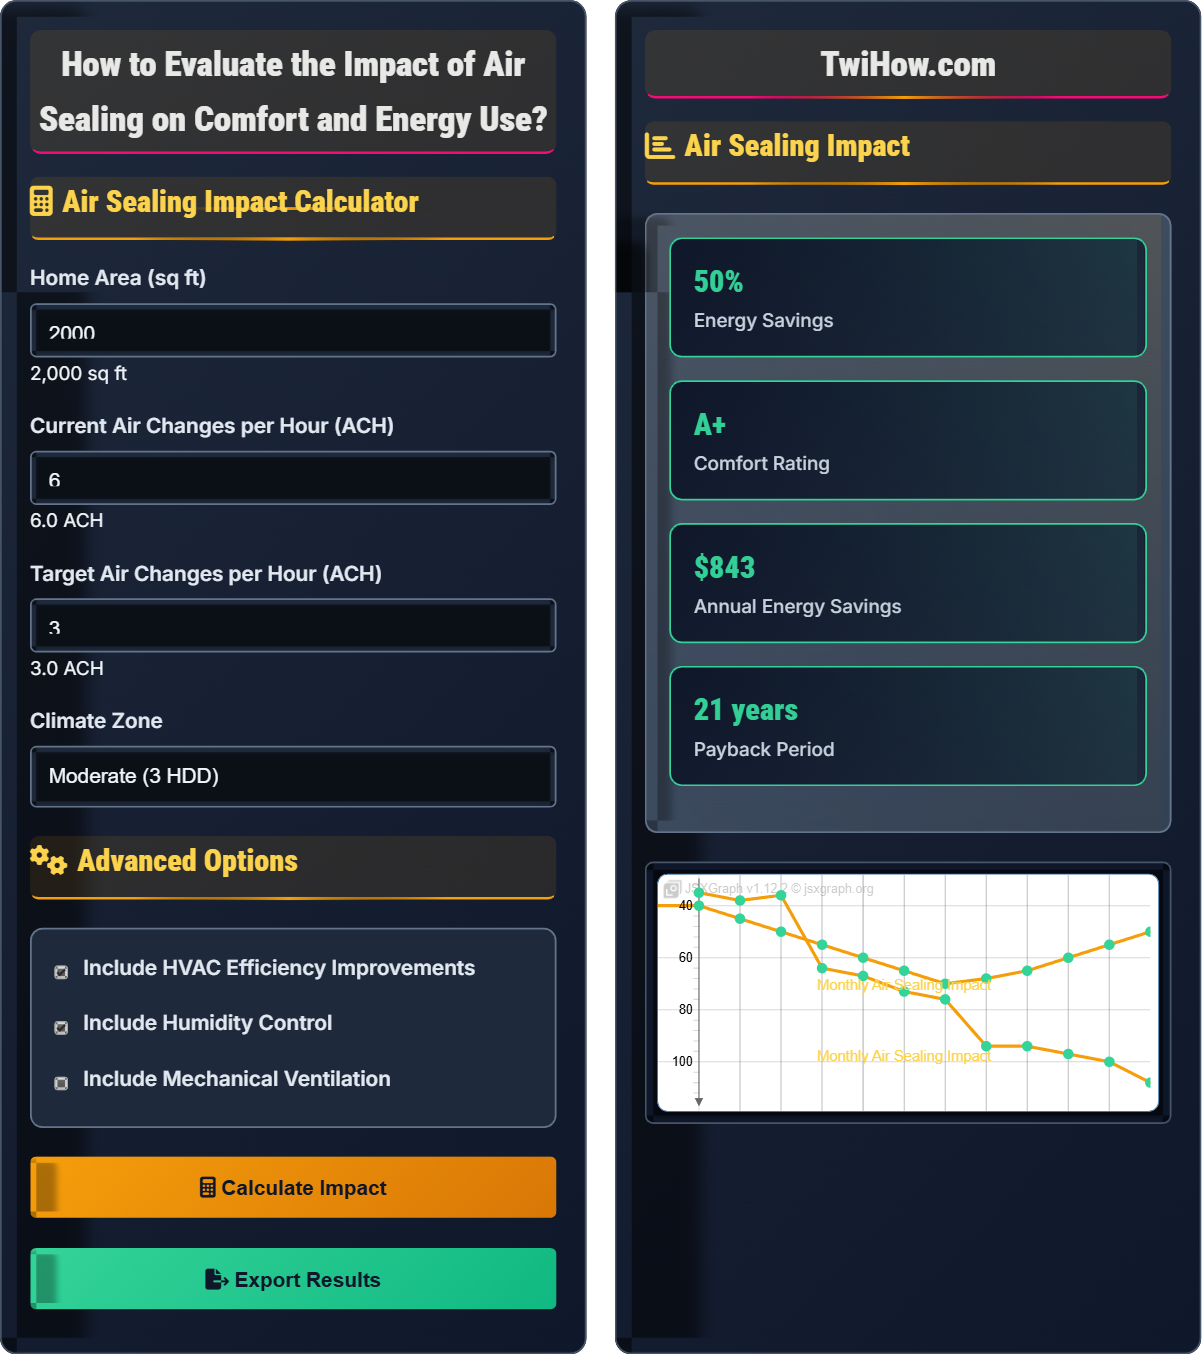
Air Sealing Impact Calculator
Advanced Options
Air Sealing Impact
| Aspect | Before Sealing | After Sealing | Improvement |
|---|---|---|---|
| Air Changes/Hour | 6.0 ACH | 3.0 ACH | 50% reduction |
| Heating Load | High | Medium | 30% reduction |
| Cooling Load | High | Medium | 25% reduction |
| Comfort Level | Fair | Good | Significant |
| Moisture Issues | Present | Improved | Reduced |
- Perform blower door test to quantify air leakage
- Identify major leak sources (attic, basement, penetrations)
- Measure temperature differences at suspected leak sites
- Test humidity levels before and after sealing
- Monitor energy bills for verification
How Air Sealing Evaluation Works
Air sealing evaluation involves measuring and analyzing the uncontrolled flow of air through cracks, gaps, and penetrations in the building envelope. The goal is to quantify the impact of air sealing on energy use and comfort by comparing pre- and post-sealing measurements.
Where:
- CFM: Cubic Feet per Minute of air leakage
- Volume: Total air volume of conditioned space
- ΔT: Temperature difference between inside and outside
- 1.08: Conversion factor for air heat capacity
Major sources of air leakage in homes:
- Attic Access: Unsealed hatches and pull-down stairs
- Electrical Penetrations: Outlets, switch boxes, junctions
- Plumbing Chases: Pipes running through walls and floors
- Windows and Doors: Poor weatherstripping and caulking
- Foundation: Gaps around pipes, vents, and structural elements
- Recessed Lights: Unsealed fixtures in insulated ceilings
Key metrics for evaluating air sealing effectiveness:
- ACH50: Air changes per hour at 50 pascals pressure difference
- ELA: Equivalent Leakage Area in square inches
- CFM25: Cubic feet per minute at 25 pascals
- Energy Savings: Measured reduction in heating/cooling costs
- Comfort Indicators: Temperature uniformity, draft elimination
Evaluation Methods
Blower door tests, infrared cameras, smoke pencils, pressure differential measurements.
Energy savings = (Baseline CFM - Sealed CFM) × 1.08 × HDD × C
Where C = cost per BTU of energy source.
- Always test before and after air sealing
- Measure energy use for 12-month periods
- Account for weather variations
Benefits
Reduced heating/cooling costs, improved comfort, better IAQ, structural protection, noise reduction.
- Lower monthly utility bills
- Reduced HVAC system wear
- Increased home value
- Enhanced resale appeal
- Proper ventilation is essential after sealing
- Professional testing recommended
- Combination with insulation is most effective
- May require mechanical ventilation
Air Sealing Evaluation Quiz
What does ACH50 measure in air sealing evaluation?
ACH50 stands for Air Changes per Hour at 50 pascals. This is a standardized measurement used in blower door testing to quantify air leakage. The 50 pascal pressure difference creates a controlled environment that allows for consistent comparison between different homes and tests.
The answer is B) Air changes per hour at 50 pascals pressure difference.
The 50 pascal pressure difference represents a wind speed of about 15 mph pressing against the building envelope. This standardization allows for meaningful comparisons between homes of different sizes and ages. The ACH50 value helps determine the tightness of a building and guides air sealing priorities.
ACH50: Air Changes per Hour at 50 pascals pressure difference
Pascal: Unit of pressure measurement (1 Pa = 1 N/m²)
Blower Door Test: Diagnostic tool that measures building airtightness
• ACH50 values below 3 indicate tight construction
• Values above 5 suggest significant air sealing opportunities
• Always conduct tests with consistent conditions
• Close all windows and doors during testing
• Turn off HVAC systems during the test
• Test during calm weather conditions
• Confusing ACH50 with natural air changes
• Testing with open windows or doors
• Not accounting for wind conditions
Calculate the heat loss reduction achieved by air sealing a 2,000 sq ft home with 8-foot ceilings. The baseline air leakage was 3,000 CFM50, which was reduced to 1,500 CFM50 after sealing. Assume an average heating season ΔT of 30°F. Show the formula and steps.
Formula: Heat Loss = CFM × 1.08 × ΔT
Baseline Heat Loss: 3,000 CFM × 1.08 × 30°F = 97,200 BTU/hr
After Sealing Heat Loss: 1,500 CFM × 1.08 × 30°F = 48,600 BTU/hr
Heat Loss Reduction: 97,200 - 48,600 = 48,600 BTU/hr
Percent Reduction: (48,600 ÷ 97,200) × 100 = 50%
The air sealing reduced heat loss by 50%, which translates to approximately 50% reduction in heating energy consumption related to air infiltration.
This calculation demonstrates the direct relationship between air leakage and heat loss. The 1.08 factor accounts for air's heat capacity and conversion factors. By reducing air leakage by 50%, the home's heating load due to infiltration is cut in half, resulting in significant energy savings. This is why air sealing is often the most cost-effective energy efficiency measure.
CFM: Cubic Feet per Minute of airflow
BTU/hr: British Thermal Units per hour of heat transferΔT: Temperature difference driving the heat transfer
• Use actual CFM values from blower door tests
• Account for seasonal average temperature differences
• Remember this is only infiltration-related heat loss
• Convert CFM50 to CFM25 if needed (divide by 2)
• Calculate seasonal totals for annual savings
• Factor in fuel costs for economic analysis
• Using wrong CFM value (50 vs. natural conditions)
• Forgetting the 1.08 conversion factor
• Not accounting for other heat loss mechanisms
A home energy auditor found that a 2,500 sq ft house had an ACH50 of 8.0 before air sealing. After sealing major leak sites, the ACH50 dropped to 3.5. The home is in Climate Zone 4 with 6,000 heating degree days. Calculate the approximate annual heating energy savings if the home uses natural gas at $1.20/therm. Assume 80% furnace efficiency.
Step 1: Calculate air volumes
Volume = 2,500 sq ft × 8 ft = 20,000 cubic feet
Step 2: Convert ACH to CFM
Baseline CFM = (8.0 × 20,000) ÷ 60 = 2,667 CFM
After sealing CFM = (3.5 × 20,000) ÷ 60 = 1,167 CFM
Step 3: Calculate heat loss reduction
Baseline heat loss = 2,667 × 1.08 × 6,000 HDD = 17,280,000 BTU/year
After sealing heat loss = 1,167 × 1.08 × 6,000 HDD = 7,581,600 BTU/year
Reduction = 17,280,000 - 7,581,600 = 9,698,400 BTU/year
Step 4: Convert to therms and calculate cost
Energy saved = 9,698,400 ÷ 100,000 = 96.98 therms/year
Annual savings = 96.98 ÷ 0.80 × $1.20 = $145.47/year
This calculation demonstrates how air sealing can provide measurable economic benefits. The significant reduction in ACH (from 8.0 to 3.5) resulted in nearly 56% reduction in infiltration-related heat loss. When converted to actual fuel consumption considering furnace efficiency, this translates to meaningful annual savings. The calculation accounts for the fact that only delivered energy (accounting for efficiency) is paid for.
HDD: Heating Degree Days - measure of heating demand
Therm: Unit of energy equal to 100,000 BTU
Furnace Efficiency: Percentage of fuel energy converted to usable heat
• Account for system efficiency in cost calculations
• Use actual HDD for your location
• Consider cooling season savings as well
• Use local weather data for accurate HDD
• Include cooling season savings for total impact
• Consider energy inflation in long-term projections
• Forgetting to account for furnace efficiency
• Using generic HDD values instead of local
• Not converting units properly
After air sealing a home from 7.0 ACH50 to 1.5 ACH50, the occupants begin experiencing stuffiness and elevated CO2 levels. The home is 3,000 sq ft with 4 occupants. Calculate the minimum required mechanical ventilation rate according to ASHRAE 62.2 standards. Should the homeowners install mechanical ventilation?
ASHRAE 62.2 Formula: Required CFM = (0.01 × Floor Area) + (7.5 × Number of Bedrooms)
Assuming 4 bedrooms: Required CFM = (0.01 × 3,000) + (7.5 × 4) = 30 + 30 = 60 CFM
Alternative Calculation: 0.35 ACH for entire house
Required CFM = (0.35 × 3,000 × 8) ÷ 60 = 140 CFM
Conclusion: Yes, the homeowners should install mechanical ventilation. The sealed home now has insufficient natural infiltration to provide adequate fresh air for the occupants. ASHRAE 62.2 requires approximately 60-140 CFM depending on calculation method, which far exceeds the remaining natural infiltration after sealing.
This example illustrates the critical balance between air sealing and ventilation. While air sealing improves energy efficiency and comfort, it can reduce natural air exchange to levels that compromise indoor air quality. ASHRAE 62.2 provides minimum ventilation requirements to ensure healthy indoor air. After aggressive air sealing, mechanical ventilation is often necessary to maintain proper air exchange rates.
ASHRAE 62.2: Standard for residential ventilation requirements
Natural Infiltration: Uncontrolled air exchange through building envelope
Mechanical Ventilation: Controlled air exchange using fans and ducts
• Maintain minimum ventilation after air sealing
• Consider occupant health and comfort
• Plan ventilation strategy before sealing
• Install HRV/ERV systems for energy recovery
• Seal before ventilating for optimal performance
• Monitor indoor air quality post-installation
• Over-sealing without considering ventilation
• Not calculating required ventilation rates
• Ignoring indoor air quality concerns
According to energy efficiency experts, which of the following represents the correct priority order for air sealing based on energy impact?
Option B represents the correct priority order. Attic bypasses (paths between conditioned and unconditioned spaces) cause the greatest energy losses due to the stack effect. Basement rim joists are major leakage points where walls meet foundations. Plumbing chases create pathways for air movement between floors. These areas have much higher energy impact than surface-level sealing like windows and doors.
The answer is B) Attic bypasses, basement rim joists, plumbing chases.
The priority order follows the principle of addressing the largest sources of air leakage first. The stack effect causes warm air to rise and escape through upper parts of the house, drawing cold air in through lower areas. Sealing these primary pathways has the greatest impact on energy use. Secondary sealing of windows, doors, and outlets comes after addressing major bypasses.
Stack Effect: Air movement driven by temperature and height differences
Bypass: Unintended pathway between conditioned and unconditioned spaces
Rim Joist: Structural member where floor joists meet foundation walls
• Address major bypasses before minor leaks
• Focus on top and bottom of building envelope
• Sealing is more effective than adding insulation alone
• Use blower door-guided sealing for maximum impact
• Seal penetrations in top plates and band joists
• Address both air barriers and thermal barriers
• Spending time on minor surface leaks first
• Not understanding the stack effect
• Sealing without addressing ventilation needs
FAQ
Q: How can I tell if my home has air leakage problems without expensive testing?
A: You can identify air leakage problems through several observable signs:
Visual Indicators: Look for gaps around windows, doors, electrical outlets, and where walls meet ceilings/floors.
Tactile Tests: Hold your hand near potential leak sites to feel drafts, especially during windy weather.
Energy Bill Patterns: Consistently high heating/cooling costs relative to similar homes.
Comfort Issues: Cold spots near windows, floors, or walls; uneven room temperatures.
Simple Tests: Use incense or smoke pencil near potential leaks - if smoke is drawn away, you have a leak.
While these methods identify obvious problems, professional testing provides precise measurements and identifies hidden leaks.
Q: What's the difference between air sealing and insulating, and which should I do first?
A: Air sealing and insulation serve different but complementary functions:
Air Sealing: Stops air movement through cracks and gaps. Addresses convective heat transfer.
Insulation: Slows conductive heat transfer through materials. Doesn't stop air movement.
Order of Work: Air sealing should come first because:
1. Air movement can bypass insulation effectiveness
2. Sealing stops energy-wasting air currents
3. Insulation works more effectively in an air-sealed assembly
4. Sealing prevents moisture-laden air from reaching cold surfaces
Both measures together provide maximum energy efficiency and comfort.